

Are you tired of bulky, expensive sleeping bags that don’t quite fit your needs? What if you could create your own perfect sleeping bag, tailored just for you?
Making your own sleeping bag is easier than you think, and it gives you control over the materials, size, and warmth. In this guide, you’ll discover simple steps to craft a sleeping bag that keeps you cozy on every adventure.
Keep reading, and you’ll learn how to make sleeping bag that feels like it was made just for you.
Materials Needed
Making a sleeping bag starts with choosing the right materials. The materials affect warmth, weight, and comfort. Selecting good fabric, insulation, and tools helps create a durable sleeping bag. This section covers all key materials needed for the project.
Choosing The Fabric
Fabric is the outer layer of the sleeping bag. It should be strong and water-resistant. Nylon and polyester are popular choices. Both fabrics dry quickly and resist tears. Look for ripstop fabric for extra durability. The inner fabric must feel soft and comfortable on the skin. Cotton or lightweight polyester works well inside.
Selecting The Insulation
Insulation keeps the sleeping bag warm. Down feathers provide excellent warmth and compress easily. Synthetic fill works well in wet conditions and is easier to clean. Thickness of insulation affects how warm the bag will be. Choose insulation based on the climate where you camp. Balance warmth, weight, and price when picking insulation.
Gathering Tools And Accessories
Good tools make sewing easier and neater. You need a sewing machine with strong needles. Sharp scissors or rotary cutters help cut fabric precisely. Pins or clips hold fabric pieces together. Thread should be strong and match fabric color. A measuring tape and fabric chalk help with accurate cuts. Consider zippers and drawstrings for closures and adjustments.

Credit: www.backpacker.com
Planning Your Design
Planning your sleeping bag design is the first step to a successful DIY project. It sets the foundation for comfort and usability. Careful planning saves time and materials. Think about who will use the bag and where. This helps shape your choices on size, style, and features. A well-planned design makes sewing easier and the final product more reliable.
Measuring For Size
Start by measuring the person who will use the sleeping bag. Measure from head to toe while lying down. Add a few extra inches for movement and comfort. Also, measure shoulder width to ensure enough space. This helps avoid a tight or too loose fit. Proper size keeps the sleeper warm and cozy all night.
Deciding On Shape And Style
Choose a shape that fits your needs. Rectangular bags offer more room to move. Mummy shapes fit closely and keep heat better. Think about where you will use the bag. Campers might prefer a lightweight style. Backpackers need a compact and warm design. Pick colors and patterns that suit your taste too.
Adding Features
Consider extra features that add comfort. A hood helps keep your head warm. Zippers on both sides make entry and exit easy. Draft tubes stop cold air from entering. Pockets can hold small items like a phone or flashlight. Think about the climate and add insulation accordingly. These little details improve your sleeping experience.
Cutting The Fabric
Cutting the fabric is a key step in making a sleeping bag. It sets the shape and size of the final product. Careful cutting ensures the pieces fit well and sew smoothly. This step needs focus and precision to avoid mistakes. The fabric must be flat and smooth before cutting. Use sharp tools to get clean edges. Proper fabric cutting saves time later and improves the bag’s look and function.
Preparing The Patterns
Start by selecting or drawing your sleeping bag pattern. Use paper or cardboard for durability. Patterns guide where to cut the fabric. Check the pattern size matches your desired sleeping bag. Add extra space for sewing seams. Lay the pattern flat on the fabric. Pin it securely to stop movement. Align the pattern with the fabric’s grain for strength. Double-check measurements before cutting.
Marking And Cutting
Use a fabric marker or chalk to trace around the pattern. Mark clearly but lightly to avoid permanent lines. Draw all necessary markings like fold lines or seam allowances. Remove pins carefully after marking. Cut slowly with sharp scissors or a rotary cutter. Keep the fabric flat and steady while cutting. Cut outside the marked lines if you added seam allowance. Check each piece against the pattern after cutting.

Credit: www.youtube.com
Sewing The Layers
Sewing the layers of a sleeping bag is a key step in its construction. It joins the outer shell, insulation, and inner lining into one warm, comfortable unit. Each layer plays a specific role to keep you cozy on cold nights. Proper sewing ensures durability and comfort. Follow simple steps to stitch these layers effectively.
Assembling The Outer Shell
Start by cutting the fabric for the outer shell. Use a strong, water-resistant material. Align the pieces carefully and pin them together. Sew along the edges with a straight stitch. Leave space for adding insulation later. This shell protects the sleeping bag from wind and moisture.
Inserting The Insulation
Choose lightweight insulation like synthetic fiber or down. Cut it to match the shape of the outer shell. Lay the insulation inside the shell evenly. Avoid bunching or gaps to keep warmth uniform. Sew small channels or baffles to hold insulation in place. This stops the filling from shifting during use.
Creating The Inner Lining
Pick a soft, breathable fabric for the inner lining. Cut it to fit inside the outer shell with insulation. Place the lining on top of the insulation layer. Pin all layers together carefully. Sew around the edges, leaving an opening for turning the bag inside out. This lining feels gentle on your skin and helps trap heat.
Adding Closures And Details
Adding closures and details to your sleeping bag improves comfort and usability. These features keep warmth inside and protect you from wind. Thoughtful finishing touches also enhance the bag’s look and function. Let’s explore the key steps to complete your sleeping bag.
Installing Zippers
Zippers are essential for easy entry and exit. Choose a zipper that is strong and smooth. Pin the zipper carefully along the sleeping bag’s edge. Sew slowly to avoid fabric bunching or zipper damage. Test the zipper by opening and closing it several times. This ensures it works well and won’t get stuck.
Adding Drawstrings And Hoods
Drawstrings help tighten the sleeping bag around your head and neck. Cut a small channel along the top edge for the drawstring. Sew the channel securely, leaving openings for the string ends. Thread the drawstring through using a safety pin or tool. Tie knots at the ends to prevent slipping. For extra warmth, add a hood shaped like a small pouch. Attach it firmly to the sleeping bag’s top edge.
Finishing Touches
Check all seams for loose threads or gaps. Trim excess fabric for a neat look. Add a small pocket inside to store small items. Consider sewing on reflective tape for safety in the dark. Finally, give your sleeping bag a gentle wash to remove dust or oils. Let it dry completely before packing it away.
Testing And Adjustments
Testing and adjustments are key steps in making a sleeping bag. This phase ensures the bag works well in real conditions. It helps catch issues early and improve the bag’s design. Comfort and warmth are the main focus during this stage. Adjustments fix any problems found during testing. This process makes the sleeping bag ready for use.
Checking Warmth And Comfort
Test the sleeping bag in a cold place. Use a thermometer to measure temperature inside the bag. Check if the bag keeps heat well. Lie inside the bag and note any cold spots. Feel the fabric for softness and breathability. Comfort is just as important as warmth. Try moving around in the bag to see if it feels tight or loose.
Making Fit Adjustments
Check how the bag fits your body shape. Make sure it is not too tight or too loose. Adjust the length if your feet touch the bottom. Modify the width for better arm movement. Sew or add drawstrings to tighten the hood and opening. Small changes can improve sleep quality a lot. Test again after making adjustments to confirm comfort and warmth.
Care And Maintenance
Taking care of your sleeping bag keeps it warm and comfy for many nights. Good care extends its life and keeps it clean. Simple steps help maintain its shape and softness. Follow easy routines to protect your investment and enjoy camping more.
Cleaning Tips
Clean your sleeping bag only when needed. Spot clean small stains with mild soap and water. Use a front-loading washing machine for full washes. Choose cold water and a gentle cycle. Use a special cleaner made for sleeping bags. Avoid fabric softeners and bleach. Rinse thoroughly to remove all soap. Dry your bag slowly on low heat or air dry. Shake it often to keep the filling even.
Storage Advice
Store your sleeping bag loosely in a large cotton sack. Avoid keeping it compressed in its small stuff sack. Keep it in a cool, dry place away from sunlight. Hang it on a wide hanger if possible. Make sure it is completely dry before storing. Proper storage prevents mold and damage to insulation. Check your sleeping bag regularly for signs of wear.
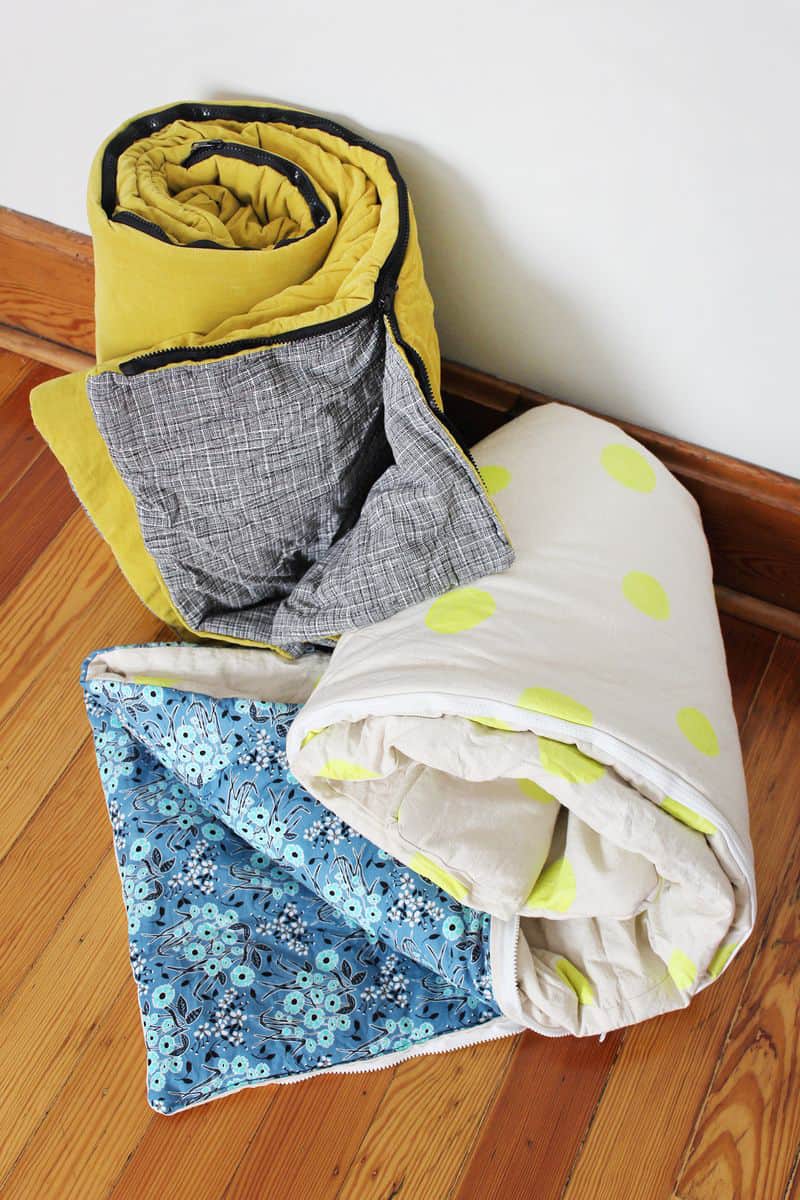
Credit: abeautifulmess.com
Frequently Asked Questions
What Materials Are Best For Making A Sleeping Bag?
The best materials for sleeping bags are lightweight, insulating, and durable. Common options include nylon, polyester, fleece, and down or synthetic fill for warmth. These materials ensure comfort, breathability, and water resistance, essential for outdoor use and temperature regulation during sleep.
How Do I Choose The Right Insulation For Sleeping Bags?
Choose insulation based on temperature needs and weight preference. Down insulation offers warmth and compressibility but less moisture resistance. Synthetic insulation is wetter-friendly, affordable, and dries faster. Consider your camping climate and budget when selecting insulation for optimal comfort and durability.
What Size Should A Homemade Sleeping Bag Be?
A homemade sleeping bag should fit your body snugly but allow movement. Typically, it’s 6 to 12 inches longer than your height and about 2 to 3 feet wide. Proper sizing ensures warmth retention while providing enough space for comfortable sleeping.
How Do I Sew A Sleeping Bag Step-by-step?
Start by cutting fabric pieces to size, then sew the outer and inner layers separately. Insert insulation between layers, sew edges together, and add a zipper or closure. Finish by reinforcing seams and adding a hood or draft collar for heat retention.
Conclusion
Making your own sleeping bag can be fun and useful. It saves money and lets you choose the best materials. You get a bag that fits you perfectly. Remember to pick warm, soft fabric for comfort. Take your time sewing each part carefully.
Soon, you will have a cozy place to rest outdoors. Enjoy your DIY sleeping bag on camping trips or at home. Try it once—you might love the experience and results.
About
Amos Frank is a distinguished figure in the world of Diy sleep, with a decade of expertise creating innovative and sustainable Diy solutions. His professional focus lies in merging traditional sleep with modern manufacturing techniques, fostering sleep that are both practical and environmentally conscious. As the author of diy, Amos Frank into the art and science of sleep-making, inspiring artisans and industry professionals alike.
Education RMIT University
(Melbourne, Australia) Associate Degree in Design (Amos Frank) Focus on sustainable sleep, industry-driven projects, and practical sleep. Gained hands-on experience with traditional and digital manufacturing tools, such as CAD and CNC software.
Nottingham Trent University
(United Kingdom) Bachelor’s in sleepenify.com and sleep makeing (Honors) Specialized in product sleep with a focus on blending creativity with production techniques. Participated in industry projects, working with companies like John Lewis and Vitsoe to gain real-world insights.
Publications and Impact
In diy, Amos Frank his insights on indoor sleep processes, materials, and strategies for efficient production. His writing bridges the gap between artisan knowledge and modern industry needs, making it a must-read for both budding sleep and seasoned professionals.